
- Administrative panel , Administrator , apt , Debian , Erlang , Message broker , Package , RabbitMQ , Recipient , Sender
Short introduction to Debian Linux
The Debian Project is an association of individuals who have made common cause to create a free operating system. On this Linux distribution was built Ubuntu, or e.g. Raspian used with Raspberry Pi platform.
If you have used only the Ubuntu distribution so far, the difference between the package installation between it and Debian is very small.
In Ubuntu we use our own user and administrative command are executed by using sudo with them:
$ sudo admin-command
whereas in Debian we use the special user called root:
# admin-command
Dollar symbol ($) is being used, when we use common user in the terminal, and hash symbol (#) is being used, when we use root account.
Packages are installed by using following commad:
# apt-get install package-name
Installing Erlang package
At first we need to download from Erlang Solutions website the appropriate version of esl-erlang for Debian 9 (Stretch). At the time of writing this tutorial, the latest version of this package was the 20.2.2
After this we run package installation in the directory, where we downloaded the package:
# dpkg -i esl-erlang_20.2.2-1~debian~stretch_amd64.deb
dpkg program is not able to resolve dependencies of esl-erlang, so that we use apt in following way to fix it:
# apt-get install -f
Then, we will be asked if we want to approve installing additional packages, which will take additional space on out hard drive. Of course we approve it do by pressing Y.
[...]0 upgraded, 102 newly installed, 0 to remove and 50 not upgraded.2 not fully installed or removed.Need to get 64.3 MB of archives.After this operation, 320 MB of additional disk space will be used.Do you want to continue? [Y/n]
After successful installation we go to next step.
Installing RabbitMQ
To automate update process of RabbitMQ server in the future, we add information about repository providing this package to directory /etc/apt/sources.list.d, in which these are stored lists of package repositories processed by apt program.
To achieve that we run following command:
# echo "deb https://dl.bintray.com/rabbitmq/debian stretch main" | sudo tee /etc/apt/sources.list.d/bintray.rabbitmq.list
Next step is getting public key for above package repository:
# wget -O- https://dl.bintray.com/rabbitmq/Keys/rabbitmq-release-signing-key.asc | sudo apt-key add -and then we need to update list of packages and install rabbitmq-server package in common way:
# apt-get update
# apt-get install rabbitmq-server
Checking if RabbitMQ is running
To check RabbitMQ server status use following command:
# service rabbitmq-server start
As a result you should see similar information:
● rabbitmq-server.service - RabbitMQ broker
   Loaded: loaded (/lib/systemd/system/rabbitmq-server.service; enabled; vendor preset: enabled)
   Active: active (running) since Tue 2018-03-20 14:24:49 UTC; 21s ago
 Main PID: 5115 (beam.smp)
   Status: "Initialized"
   CGroup: /system.slice/rabbitmq-server.service
           ├─5115 /usr/lib/erlang/erts-9.2/bin/beam.smp -W w -A 64 -P 1048576 -t 5000000 -stbt db -zdbbl 1280000 -K true -- -root /usr/lib/erlang -progname erl -- -home /var/lib/rabbitmq
           ├─5192 /usr/lib/erlang/erts-9.2/bin/epmd -daemon
           ├─5335 erl_child_setup 1024
           ├─5359 inet_gethost 4
           └─5360 inet_gethost 4

Mar 20 14:24:47 webs rabbitmq-server[5115]:   ##  ##
Mar 20 14:24:47 webs rabbitmq-server[5115]:   ##  ##      RabbitMQ 3.7.4. Copyright (C) 2007-2018 Pivotal Software, Inc.
Mar 20 14:24:47 webs rabbitmq-server[5115]:   ##########  Licensed under the MPL.  See http://www.rabbitmq.com/
Mar 20 14:24:47 webs rabbitmq-server[5115]:   ######  ##
Mar 20 14:24:47 webs rabbitmq-server[5115]:   ##########  Logs: /var/log/rabbitmq/rabbit@webs.log
Mar 20 14:24:47 webs rabbitmq-server[5115]:                     /var/log/rabbitmq/rabbit@webs_upgrade.log
Mar 20 14:24:47 webs rabbitmq-server[5115]:               Starting broker...
Mar 20 14:24:49 webs rabbitmq-server[5115]: systemd unit for activation check: "rabbitmq-server.service"
Mar 20 14:24:49 webs systemd[1]: Started RabbitMQ broker.
Mar 20 14:24:50 webs rabbitmq-server[5115]:  completed with 0 plugins.
Setting up administration panel
After installing message broker (working on port 5672) we need to set up simple administration panel, which was made by RabbitMQ creators as a plugin. To do so you use following command:
# rabbitmq-plugins enable rabbitmq_managementThen, to check if administration panel was successfully installed, just enter the following URL in your web browser: http://localhost:15672/
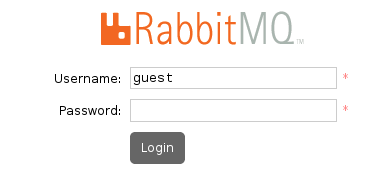
Default login and password is guest.
Guest account is delivered at the beginning of the adventure with RabbitMQ server, but it has one, important limitation: we can use it only with the localhost, so we cannot use it on remote server, where our message broker was installed.
In most cases message sender, message broker and message recipient are located on separate servers.
Adding new administrative account
Because of we can use guest user only on the same server (localhost) we need to create new administrative account. In our case it will be called root, but you can use any name.
At first we create new user root with password top-secret:
# rabbitmqctl add_user root top-secret
then we assign administrator role to this user:
# rabbitmqctl set_user_tags root administrator
and at the end we set up vhost and permissions:
# rabbitmqctl set_permissions -p / root ".*" ".*" ".*"
After that we can log in by using new administrative account RabbitMQ.
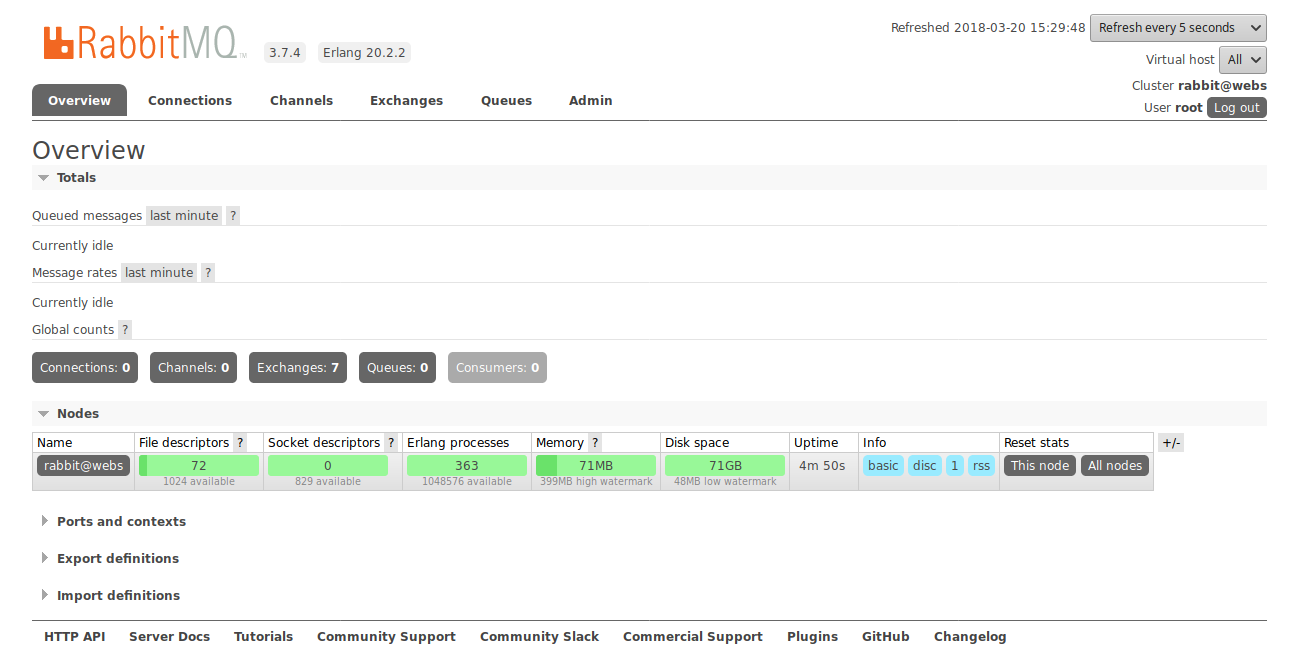
We will use this panel many times during our work with RabbitMQ.

 We have updated
Web Developer with over 8 years of commercial experience in making websites, web applications and administration panels in PHP, JavaScript, HTML and CSS.
Currently focused on microservice architecture, which allows to build scalable web applications.